

We can always feel like drowning in packages and dependencies every time starting a new node JS project, add TypeScript to the mix, and it's a recipe for disaster...

But what happens when your application server scales or you’re working on a team of developers worldwide? In these instances, TypeScript can help you.
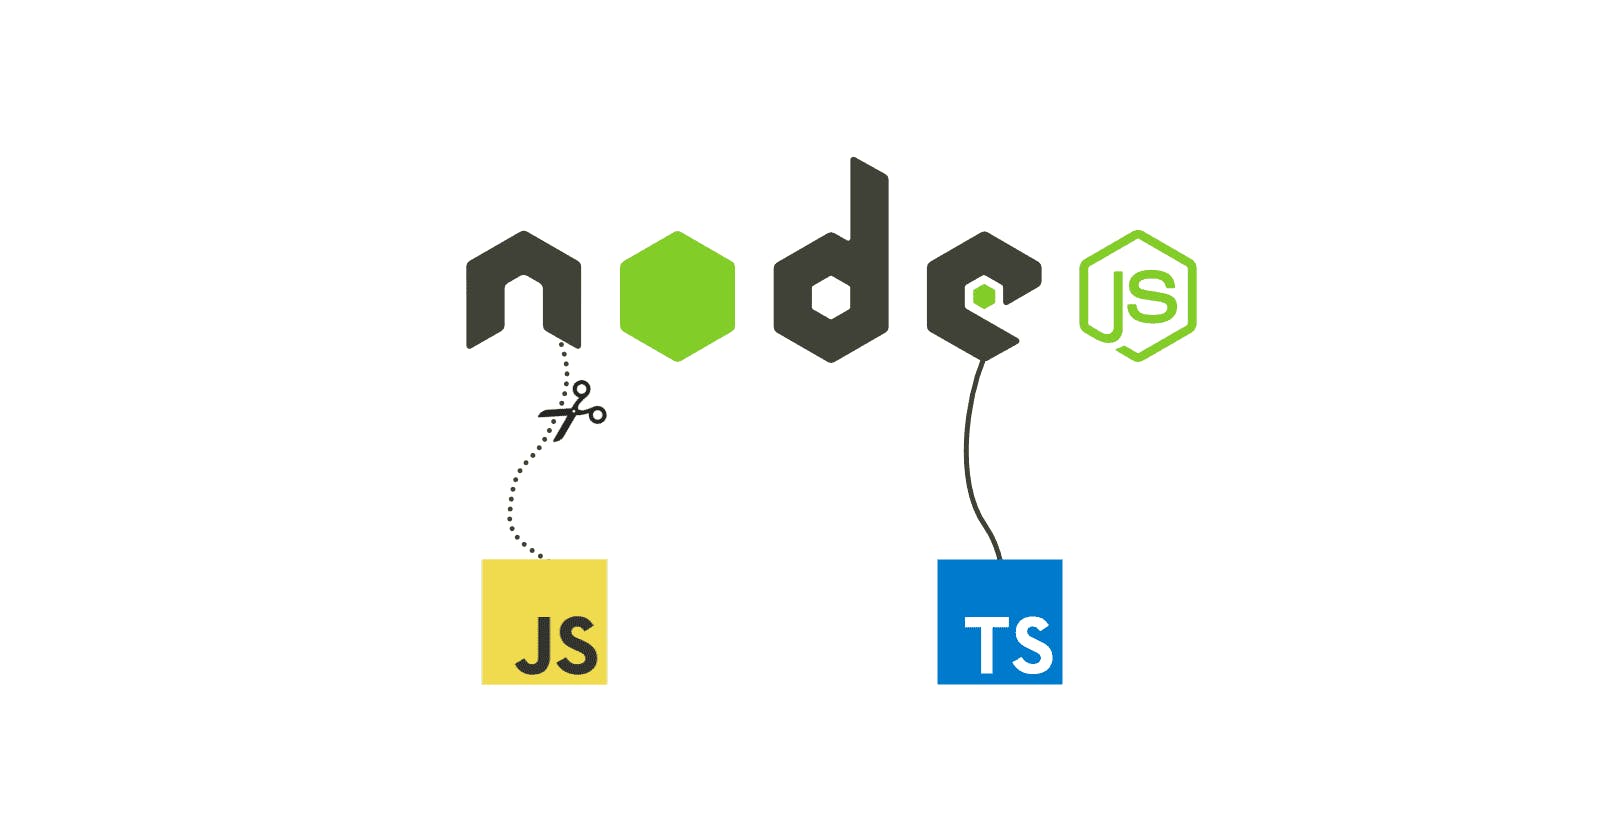
In this article, we’re going to cover a beginner-friendly way to set up TypeScript in an Express app, understanding the essential constraints that come with it.
To take full advantage of this tutorial, be sure you have the following:
Node.js installed in your local development environment.
Access to a package manager like npm or Yarn.
Basic knowledge of Node.js and Express.
If you read the whole article, I will give you a cookie at the end! and I mean it ^_^
Let's start
For me to make this tutorial as easy as I can, I will start with an ordinary Javascript Node project and then move toward Typescript land slowly and step by step, let's go Champs...
Step 1 — Initializing the Project with JS
mkdir node_project     // create new file
cd node_project
npm init -y            // Start new packaje.json
touch index.js         // create our main page
The -y flag tells npm init to automatically say “yes” to the defaults. You can always update this information later in your package.json file.
//Install our main packages
npm i express           //as a dependecy
Now with "express", we can start a basic server with JS, to start it add the following into "index.js"
const express = require('express');
const app = express();

app.use(express.json());

app.use("/", (req, res)=>{
    res.send("I'am still using node without TypeScript like a norm!!")
})

const port = 3000;
app.listen(port, () => {
  console.log(`server is running on port ${port}`);
});
node index.js //to start the server on port 3000
Now after we successfully started our meaningless server ^_^ with js let's start the magic.
Step 2 — Let's TypeScript step-by-step
To start we need first to install TS into our project as we would with a normal dependency.
npm i typescript
Now we can proudly change our "index.js" into TS by magically adding "ts" as an extension "index.ts".
Although we have TypeScript installed on our project, it doesn't understand our express code yet!! you don't believe me!! ok, try this...
instead of " res.send", change it to anything else, like "res.shawarma", I know shawarma is great but not here ^_^
//...
app.use("/", (req, res)=>{
    //res.send("I'am still using node without TypeScript like a norm!!")
    res.shawarma("Yummy")    //should give us an error, but it didnt!!
})
//...
The reason TS didn't give us an error is that it does only understand the built-in APIs available in JavaScript runtimes, but "express" is an external package, that's why we need what is called "type definitions" that works like a translator between TS and external packages.
You can read more about type declarations in TypeScript's official documentation
npm install --save @types/express @types/node
#we can ignore --save in newer versions of node BTW
Now TS understands "express" and "node", but it doesn’t catch the "shawarma" error yet!!
That's because requiring packages works differently with TS, it doesn't use the usual "commonjs" syntax, instead, it uses "ES6" syntax.
//change
const express = require('express');
//to
import express from "express";
Read this article to know more about the ES6 import system.
This will be the final result:
// const express = require('express');
import express, { Express, Request, Response } from "express";
const app: Express = express();

app.use(express.json());

app.use("/", (req: Request, res: Response)=>{
    //no shawerma
    res.send("I'am still using node without TypeScript like a norm!!")
})

const port: number  =  3000;
app.listen(port, () => {
  console.log(`server is running on port ${port}`);
});
Step 3— TypeScript configuration
This is the configuration file that contains the rules for TypeScript.
npx tsc --init #to create the configuration file
This line will initialize "TS" configuration, here are my final settings:
{
  "compilerOptions": {

    "target": "ES6",    /* Set the JavaScript language version for*/
    "module": "commonjs", /* Specify what module code is generated. */
    "moduleResolution": "node", /* Specify how TypeScript looks up a file from a given module specifier. */
    "outDir": "./dist",/* Specify an output folder for all emitted files. */
    "esModuleInterop": true,
    "forceConsistentCasingInFileNames": true,    /* Ensure that casing is correct in imports. */
    "strict": true,  /* Enable all strict type-checking options. */
    "noImplicitAny": true,  /* Enable error reporting for expressions and declarations with an implied 'any' type. */
    "skipLibCheck": true /* Skip type checking all .d.ts files. */
    }
    ,
    "exclude": ["node_modules"] /*exclude these files from TS type cheking*/
}
Now with our current configuration, whenever we compile our project, a new folder "dist" will be built with the final, deployable JavaScript code.
npx tsc              # to build our TS to JS
node dist/index.js   # to run server from genrated files
But this is not an easy, lazy way to re-run our project after any single change! right?
So will automate all this process in the next section.
Step 4— Automating the boring stuff
What do we really want to do after any change?
Delete the old "dist" folder preparing for the new version of it with new changes.
Re-build our project to a new "dist" folder.
Run our server from newly created JS files.
Keep watching any new changes using "nodemon".o
To be able to do that, we need to install these packages:
npm i -D nodemon       #keep the server on par with new changes
npm i rimraf           #to delete old dist folder automatically
npm i concurrently     #to run commands on differant systems
After installing them, guess what? we need to use them!!
Adding these scripts to our "package.json" file will do the trick for us.
  "scripts": {
    "build": "rimraf dist && npx tsc",
    "predev": "npm run build",
    "dev": "concurrently \"npx tsc -w\"  \" nodemon dist/index.js\" ",
    "test": "echo \"Error: no test specified\" && exit 1"
  },
build => will delete the old dist, and build a new one.
dev => will run TS on watch mode for any changes and run nodemon on JS files.
predev => will always run before dev, it will trigger the build command.
Relax and don't think too much, just run npm run dev ^_^
And Voilà, we are finally here.
Let's Recap
Throughout this short journey we have learned together why would we need TS, How to initialize and set up all the needed packages for TS to work, how it really understands node and external packages, and finally how to automate building and running our server.
Did you think that I forgot about the cookie!!
well, I am a man of my word, Here's a ready GitHub repo with all the configuration already made for you, Happy coding ^_^